• New Horizons on Maelstrom
    Maelstrom New Horizons


    Visit our website www.piratehorizons.com to quickly find download links for the newest versions of our New Horizons mods Beyond New Horizons and Maelstrom New Horizons!

Released 20 gun privateer schooner

Well, it took quite a bit of digging around, but I finally figured out what caused your carronade to turn transparent.
You need to select the affected component, then hold down your RMB (Right Mouse Button) and drag the cursor down to "UV Sets" and then "UV Linking...".
This opens the 'Relationship Editor' window, which shows your UV sets on the left and the textures on the right.
All you need to do is select the UV set that the component is using, and then select the right texture file at the same time, then close/minimise the window.

Anyway, while I was at it, I went ahead and mapped the whole carronade to Inzanegun1, and combined it all into one component:
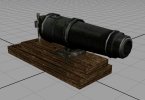
Carronade_textured.jpg
What do you think? I've uploaded it here if you're interested: http://www.pyratesah...ng/Carronade.7z
I figured it would save you a bit of time. Do have a look at the UV map to see how it fits together. ;)

EDIT: Oh yeah, you'll need to un-check the 'Double Sided' attribute in 'Render Stats'; I forgot to do that after combining all the components. :facepalm
That reminds me; as a general rule, you must always check every box in 'Render Stats' except 'Double Sided' and 'Opposite' (and anything else below them).

You'll also notice I've taken out a couple of polygon faces that the player won't be able to see in-game. This is something else to consider when trying to conserve polygons in future.
 
Perfect! thanks Armada, this should save a good chunk of time! :doff How do you get your UVs to be so neat? If the transperancy problem comes up again, your explination will be very useful. I just set the Render stats right, and am now doing the same for my other models :onya
 
Perfect! thanks Armada, this should save a good chunk of time! :doff How do you get your UVs to be so neat?
What I did with the UVs was overlap several of them, after using the appropriate mapping method.
For instance, I used Automatic mapping for the square sections making up the base, and moved UVs around to share the same coordinates.

For the circular parts, I used Cylindrical mapping AND Planar mapping. Here's an example to explain why.
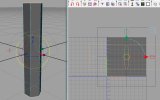
Cylinder_example1.jpg
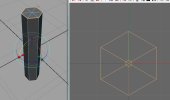
This is a cylinder I quickly generated using 'Create -> Polygon Primitives -> Cylinder', with a set of UVs that were generated with it.
What I want is to map the sides and the ends separately, so first I've selected the side faces and chosen Cylindrical mapping.
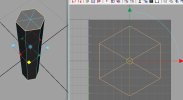
In this case, the UV cylinder was already perfect, so I've modified it to look like it isn't perfect, like some examples I found when mapping your carronade:
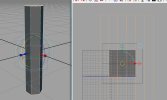
Cylinder_example2.jpg
So, to fix this 'mess', you need to click the small red 'T' on the left edge of the half-cylinder, and then click the light blue ring that appears.
You should then see this tool, which covers translate, scale and rotate all at the same time:
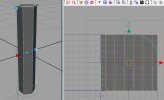
Cylinder_example3.jpg
In this case, you need to click and drag the red ring to rotate the cylinder 90 degrees, until the UVs look like a cylinder that has been rolled out flat:
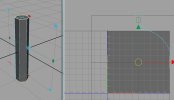
Cylinder_example4.jpg
Next, click the little red 'T' again to return to the original tool. Click and drag one of the red squares to form a full cylinder around the object,
then drag one of the green squares to stretch the cylinder along the length of the object, then drag the blue central square to shrink the radius of the cylinder.
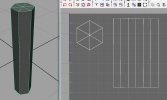
The result should look something like this:
Cylinder_example5.jpg
Now you can scale and translate the UVs in the UV Texture Editor window into a better position, using the Manipulator tool.

To map the ends, select the faces and choose Planar mapping. This example starts off in the wrong place, like so:
Cylinder_example6.jpg
Like before, click the red 'T' and use the rotate tool to turn the plane 90 degrees, until both ends align on top of each other in the UV Texture Editor:
Cylinder_example7.jpg
Again, click the red 'T' to switch tools, and drag one of the blue corner squares to shrink the plane to the same size as the object's diameter:
Cylinder_example8.jpg
You can then resize the UVs to fit alongside the others, with a final result of something like this:
Cylinder_example9.jpg

I hope that's helpful for future reference. Any problems, just ask. :cheers
 
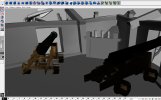
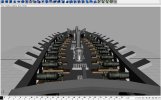
thanks for the in depth explination! I should have know better from the tutrial, but I was selsecting the entire object for cylindrical mapping(both side and ends) so I wont be making that mistake again :onya After replacing the carronades with the textured ones, I checked double sided for my model of the prince, and a problem came up where I least expected it: the chase guns imported from the greyhound. here are a few pics
dblsideprob1.JPG
dblsideprob2.JPG

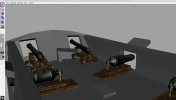
However, the carronades look great! :doff
carronades_great.JPG
 
After replacing the carronades with the textured ones, I checked double sided for my model of the prince, and a problem came up where I least expected it: the chase guns imported from the greyhound. here are a few pics
[attachment=8047:dblsideprob1.JPG]
[attachment=8048:dblsideprob2.JPG]

looks like the models of chasers have their normals reversed. To fix: with chasers selected, select 'edit polygons' at the top. In drop-down menu go 'normals->reverse' and select a box next to 'reverse'. A table of settings should open. Make sure the 'mode' is set to 'reverse'. Hit the 'apply'.
 
After replacing the carronades with the textured ones, I checked double sided for my model of the prince, and a problem came up where I least expected it: the chase guns imported from the greyhound. here are a few pics
Ah yes, that's another important point: all models exported to OBJ format using GM Viewer must have their attributes and normals checked in Maya.
In every case, the model must have all 'Render Stats' ticked except Double Sided and Opposite.
Then, the normals need to be reversed as IRF said, and normally (lol, I know :rolleyes: ) you'll also need to normalise the vertex normals (otherwise the lighting might not be right).
To do this, select the component and go to 'Edit Polygons -> Normals' and click the box next to 'Set Vertex Normal'.
In the box that appears, tick 'Unlock Normals' and click 'Normalise Normal', then click 'Set Normal'.
Ugh... so many 'Normals'... :wacko:
 
thanks for the in depth explination! I should have know better from the tutrial, but I was selsecting the entire object for cylindrical mapping(both side and ends) so I wont be making that mistake again :onya After replacing the carronades with the textured ones, I checked double sided for my model of the prince, and a problem came up where I least expected it: the chase guns imported from the greyhound. here are a few pics
[attachment=8047:dblsideprob1.JPG]
[attachment=8048:dblsideprob2.JPG]

However, the carronades look great! :doff
[attachment=8049:carronades_great.JPG]

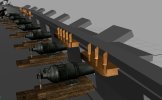
Despite the problems, the third picture is just fun to look at.
 
Ah, that bizarre effect happens all the time. It seems to be a slight problem with the Maya renderer and high-quality textures. :wacko:
No idea why it happens, or if it can be prevented, for that matter. Rest assured that it won't affect the ship once exported to GM format, though.
 
Ah, that bizarre effect happens all the time. It seems to be a slight problem with the Maya renderer and high-quality textures. :wacko:
No idea why it happens, or if it can be prevented, for that matter. Rest assured that it won't affect the ship once exported to GM format, though.
that is good to hear! I dont mind at all as long as it shows up right in-game. :keith
 
Is there a way to combine uv sets for a single object? I mapped the deck and each mast seperately, but they are all part of the same object. however, the relationship editor will only let me display the texture for one at a time (like only the deck or one of the masts) depending on which Uv set I select. Is there a way that I can make them all work at once?
 
I think so, yes. Select the object you want to merge UVs for, and then, in the Relationship Editor for UV linking, select one of the UV sets.
Then go to 'Edit -> Create UV Set -> Copy UVs to UV set -> Copy into New UV Set'. Give the set a suitable name for reference.
Now select each of the other UV sets in turn, and go to 'Edit -> Create UV Set -> Copy UVs to UV Set -> [New UV Set]', where [New UV Set] is the one you've just made.
You can then delete the separate UV sets to leave only the new combined one remaining.
 
I'm afraid hat doesn't seem to work, I can copy them into a new one, but every time I add a new uv set to the combined one, the rest are deleted from the combined set. :modding
 
Really? I'm sure it worked when I mapped the UVs for your carronade model... :?
Maybe there's something I missed out when explaining the process; I only quickly skimmed through it in Maya, anyway.
See if you can figure out what's missing, for now. I'll have another look at it later. :mm
 
I also tried the same thing with my capstan model (mapping parts as seperate objects and then trying to combine the uv maps when I compined the object) but the same thing happened there :shrug
ill go through your directions again and see if there is something i missed.
 
figured it out, I had to uncheck a box that said "create new UV set" and map each object in a single set to begin with. I think im starting to get the hang of it. :onya
 
Ah, I see. Good to hear that's sorted. :)
 
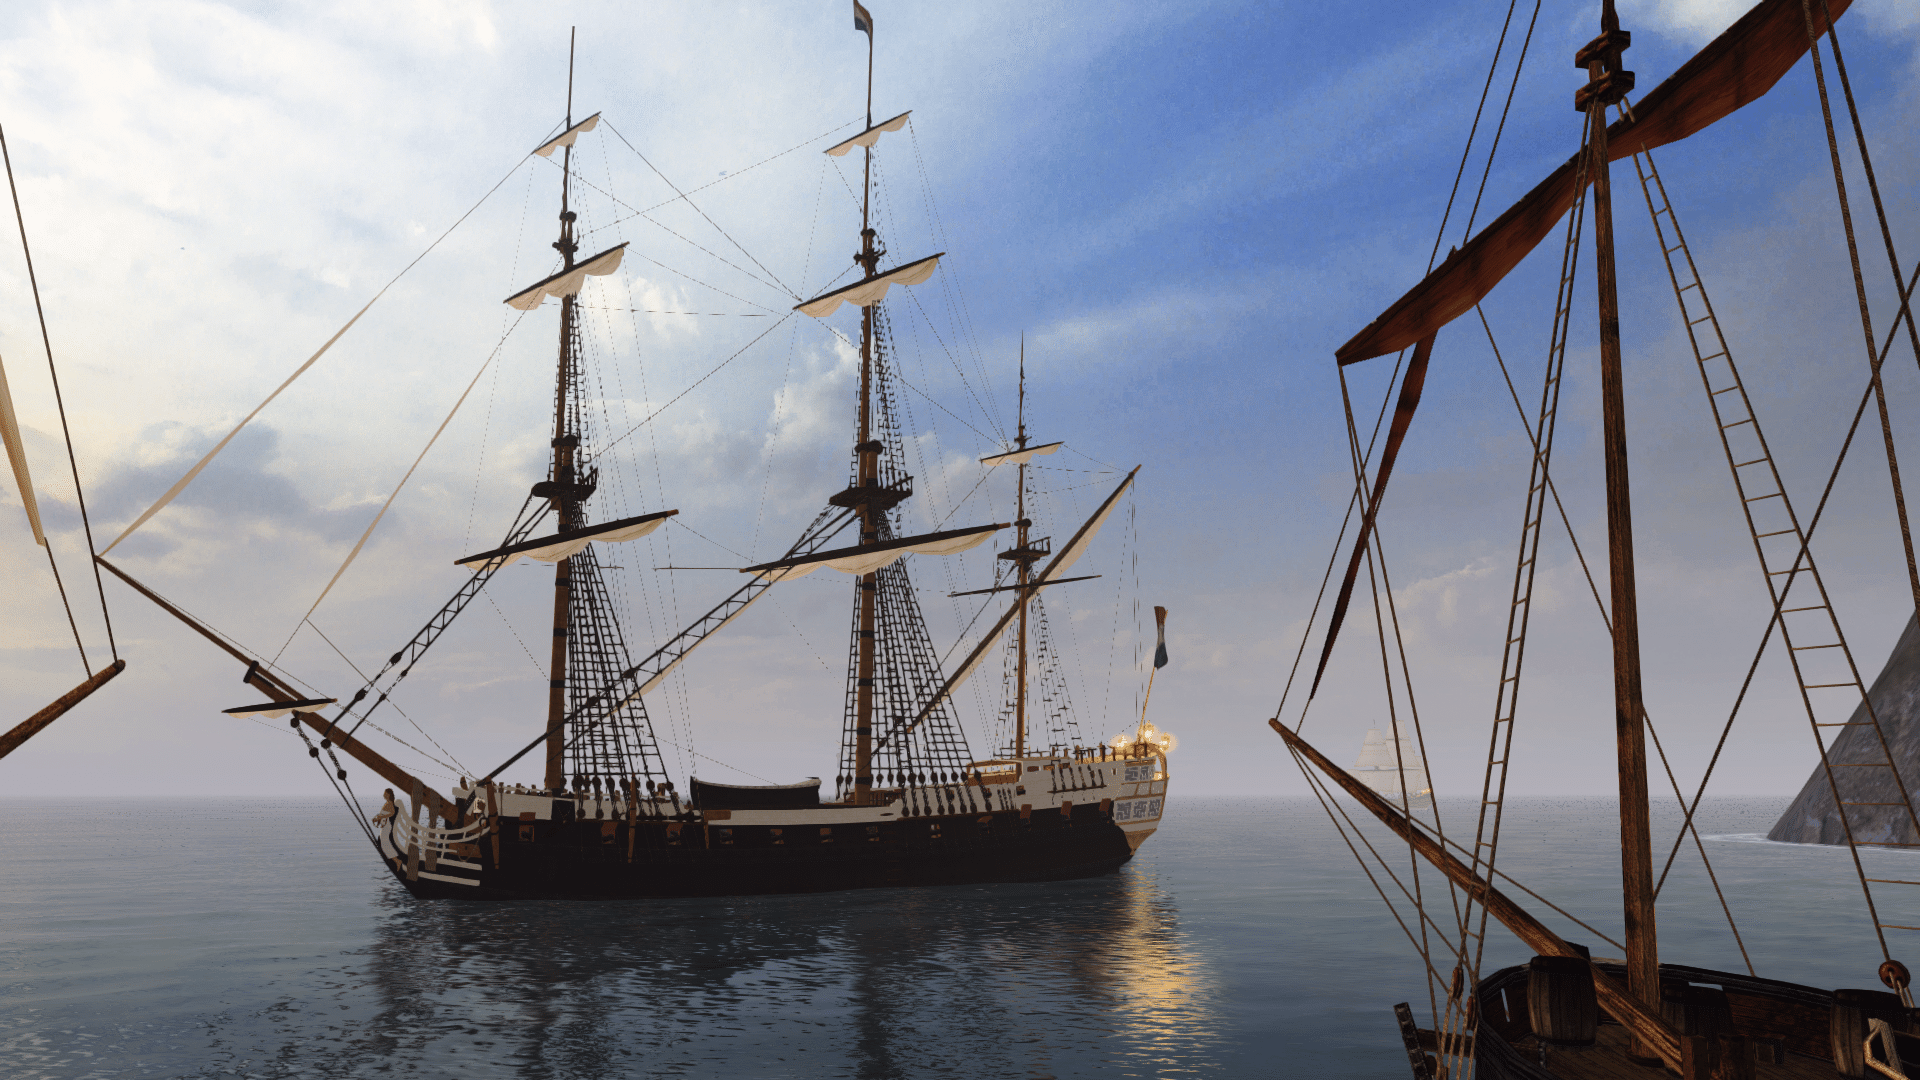
yeah, here is a quick update
http://www.flickr.com/photos/64339105@N08/6778719625/in/photostream
http://www.flickr.com/photos/64339105@N08/6778719389/in/photostream
Im having a little trouble, some things i will uv map but they wont show up as textured(like the upright posts in front of the masts, you can see one in about the center of the first picture just forward of the mainmast) any clue as to why this might be? its not any of the problems I had before.
 
That looks like exactly the same problem your carronades originally had... have you tried the advice I mentioned for fixing that? :?
If that doesn't work, and you can't figure out the problem, maybe you should send me the model again so I can try to fix it.

Anyway, problems aside, nice UV mapping so far! :onya
 
Back
Top