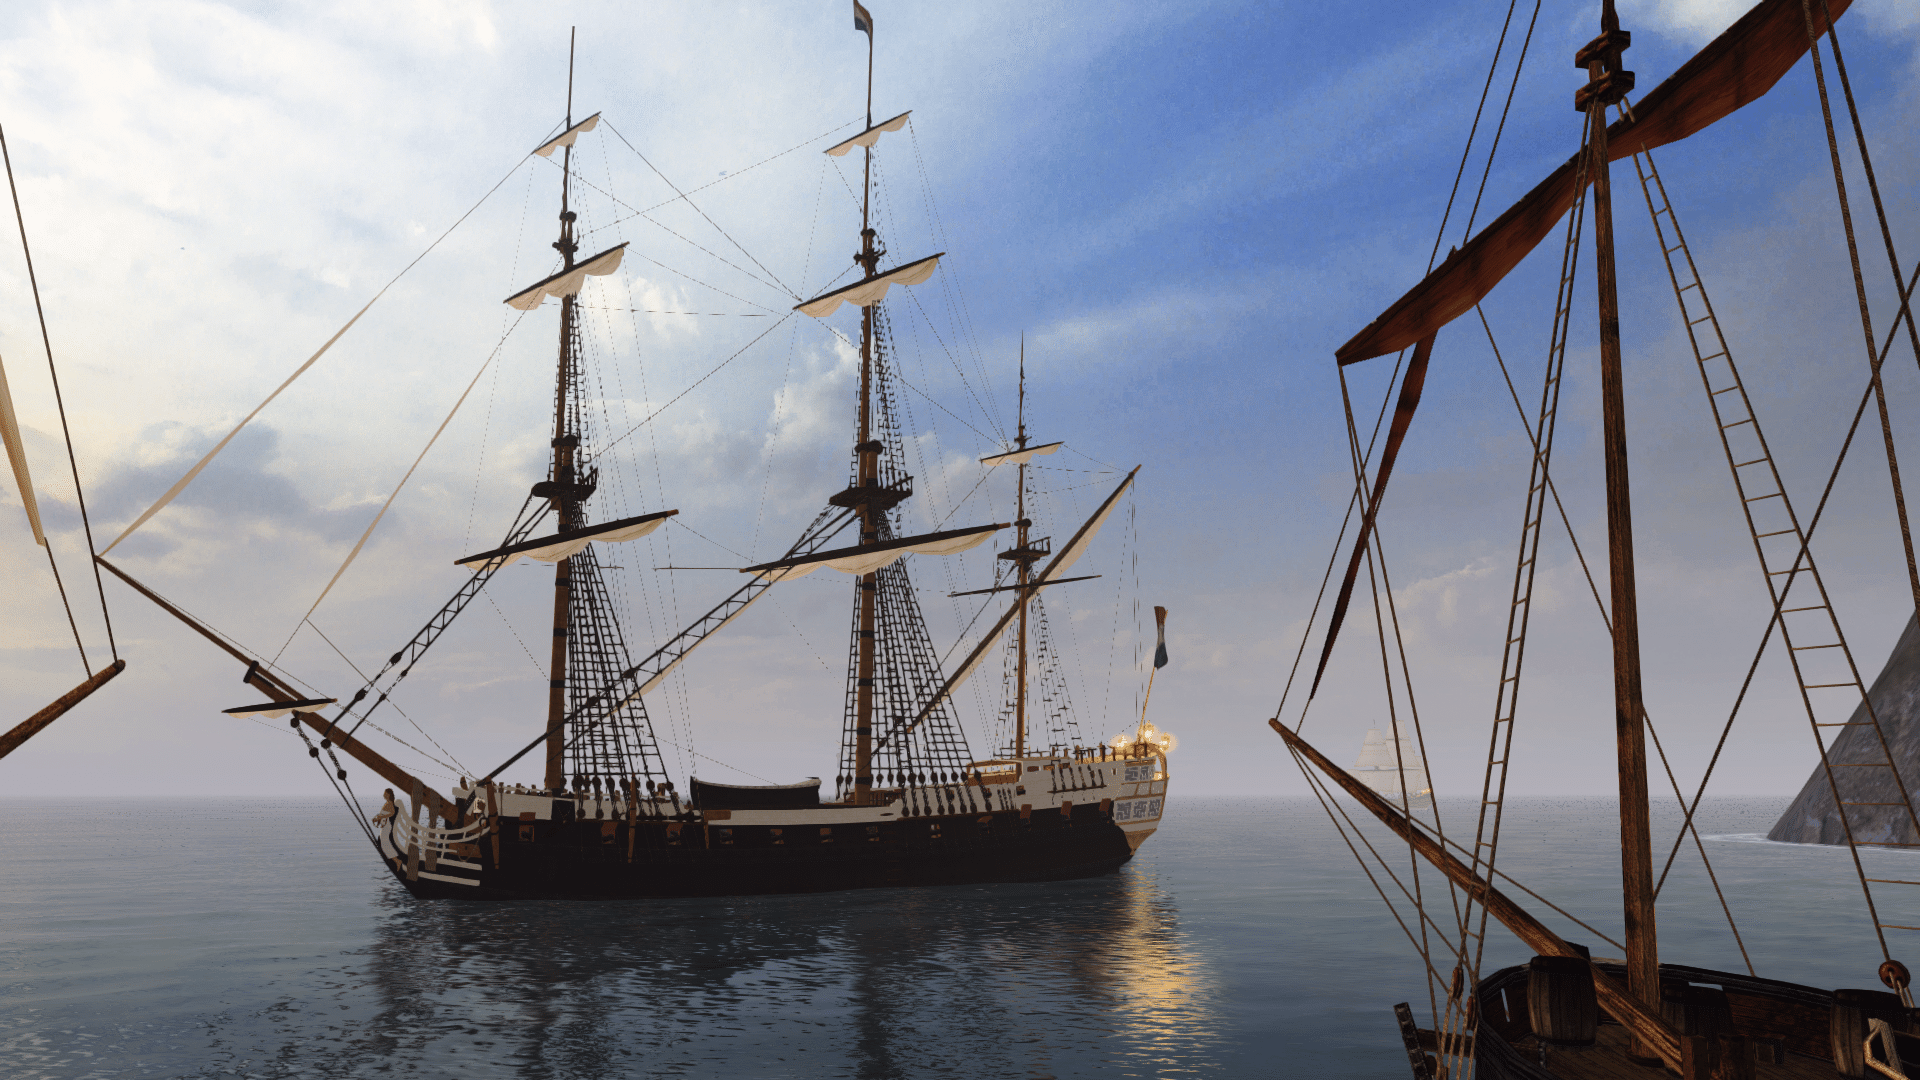
By means of Inez Diaz fabulous tool for converting GM models you -yes, YOU- can easily change models by removing and/or adding model components. That way you -yes, YOU- can create landlocations and islands that look completely different from the stock ones. (see picture in <a href="http://www.piratesahoy.net/forum/index.php?showtopic=10382&st=0#entry190236" target="_blank">in this thread</a> )
No prior modeling knowledge is required. You need, however, patience and stamina, and you must be willing and able to learn from tutorials and forumthreads, and by trial and error.
--------------
Prerequisits
--------------
Download from <a href="http://www.s31clan.com/privateftps/pietersmods" target="_blank">Pieter's site</a>
- Inez Tool
- the GM viewer, which allows you to view and check existing and new models, and tells you which textures a model needs
- and the TX converter -which converts the PotC TX textures into TGA textures that the Tool needs.(If a model appears white in the tool you don't have its texture converted)
I also recommend that you download my "Meshes4InezTool", "TxTextures4newModels" and "TgaTextures4InezTool" from the www.piratesahoy.com FTP, which will give you A LOT more modelcomponents.
Make yourself familiar with those programs by means of the helpfiles and the threads on www.piratesahoy.com/forum. This tutorial does not deal with that basic info again but starts with location changing right away.
And don't forget the basic rule for all modding:
MAKE A BACKUP COPY OF EVERY FILE BEFORE YOU CHANGE IT !!!!
Second rule:
Enable error logging, and check the logfiles after each testplaying(even if it SEEMS that everything works). The system.log will tell you if anything regarding models and textures is wrong. Often a bug is caused by misplaced or misnamed files, an error easily made, but also easily fixed if you are being told about it.
------------------------------------------------------
How to change a locationmodel with "Edit scene"
------------------------------------------------------
As a simple first example let's change the Oxbay lighthousebay into a bare cliff with a small wooden fort.
-Make a copy of the "Resource\models\locations\outside\Mayak" folder
-Give it some NEW name, e.g. "Resource\models\locations\outside\Mayak_NEW"
From now on we work ONLY in the new folder, so that we leave the original files safe alone!
-Start the Tool.
-On the right margin check the option "ship, item, location"
-Click on "Load Gm"
-Go to the location model directory and doubleclick the locatorfile, in our example "locations\outside\Mayak_new\mayak.gm"
-Click on "Scene" / "Edit scene"
[attachment=1743:InezTool.jpg]
-The second window from left is the list of modelcomponents that your scene already has. Click on the + in front of "Original" and its components will be displayed. Click on "Poly surface 36" and then the big "Delete" button, and the lighthouse will disappear. Deleting "Poly surface 1534" will remove the trees.
-To the left is a list of models which you can add to your scene/locationmodel. Doubleclick on e.g. house01_x and a house will be added. Though it doesn't show up yet.
-In the second window house01 has now been added. Click on it and you can move and resize this modelcomponent with the interface right of this list:
-above "move to position" are the positioncoords x, y, z of your chosen modelcomponent. Change those coords, e.g. to 2/18,8/-7 , click "move to position" and the modelcomponent will be moved there.
-you can also move a modelcomponent by shifting the three scale levers below
-the scale lever to the right resizes the modelcomponent
-"delete" -you'll guess it- deletes the chosen modelcomponent
-Click on one of the "-axis" buttons and the modelcomponent will rotate 45 degrees
That way you can place a house on the cliff and some "fence" stockades around it to create a fort.
(The tool comes with only few modelcomponents, but you can download or create more; see section "Additional Modelcomponents" below)
-Finally click "Save as GM" in the MAIN window of the tool
For safety reasons this new location modelfile is being stored with the appendix "_X" as "mayak_X.gm". So if you messed up anything you still have the old "mayak.gm" as backup.
-Once you are content with the new locationmodel (use the GM Viewer to check your progress) name the final version "mayak.gm"


